How To Remove Faucet Handle Without Screws

homedude is reader-supported. When you buy through links on our site, We may earn an affiliate commission. Learn more
You may have to remove a faucet handle for several reasons, including fixing a leak, replacing the faucet cartridge, or changing the filter. Friction fit faucets are popular options for many homeowners today, so there’s a good chance that you won’t need to unscrew anything in order to remove your faucet.
So, how do you remove a faucet handle without screws? Start by gathering the supplies you will need and shutting off the water. If you can’t remove the faucet handle with your hands, you will need to use a pair of pliers or a faucet handle puller. Once removed, you will need to clean everything up as there may be mineral deposits left behind.
Read on for detailed step-by-step instructions on how to remove faucet handle without screws.
Things You Will Need

To remove a friction fit faucet handle without screws, you need simple tools such as:
- A pair of pliers
- A small, flat-head screwdriver
- An Allen wrench
- A piece of dry towel or cloth
Steps To Remove Faucet Handle Without Screws

Step 1: Turn off the water supply
First, turn off the water supply. In most cases, the valve should be under the sink or somewhere nearby.
You may have to turn off the main water supply to the house if you can’t find a valve close to the faucet. Whatever you do, make sure that water isn’t flowing to the faucet.
Step 2: Locate the cap or button
Most friction fit faucet handles come with a cap or button, which is often located at the side or top. Look around, and you’ll find the button or cap.
Step 3: Remove the cap
Grab a small, flat-head screwdriver, insert it into the space around the cap, and carefully pry the cap open.
You may break the cap if you don’t do this step carefully. Instead, you want to slowly work the gap around the cap edges until it pops off or unscrews.
Step 4: Remove the faucet handle
Since we are dealing with faucets without screws, you need to loosen the faucet handle. It is held by friction, so you need to apply some effort to release it. If you find it difficult to loosen, you may need a pair of pliers.
This is where a dry towel or piece of cloth comes in handy. Wrap the towel around the handle as you pull it out. The towel will prevent possible scratches or marks that may deface your faucet.
Once the faucet handle is loosened, go ahead and remove it. To do this, simply pull out the handle.
If you find mineral deposits around or inside the area, clean it up using distilled white vinegar or other simple but effective DIY cleaning agent. Removing the debris will make the faucet function better.
For faucet handles with screws, the process involves the same steps, except that some screws hold the handle in place, and those screws must be removed with a screwdriver to allow easy removal of the handle.
Step 5: Reassemble the faucet
Once you are done with the cleaning, repairs, or whatever else you need to do, follow the steps above in reverse order to reassemble the faucet.
Here’s a summary of what to do:
- Fit the faucet handle
- Tighten the handle
- Add the cap
- Turn on the water supply
Follow these steps, and you’ll have water flowing again.
How To Remove Faucet Handles For Older Models
Most older model faucets come with screws. Unfortunately, it can prove a bit trickier if you need to remove this kind of faucet handle. This is because old faucets typically feature nuts located directly behind the faucet handle and are usually difficult to unscrew. The vintage nut becomes rusty in most cases and unscrewing it is almost impossible with regular tools.
If you have to remove the handle, you must begin by unscrewing this nut. After that, every other step of the process remains the same.
Luckily, there is an easy way to unscrew the nut. This will involve buying the liquid wrench penetrating oil, especially if dealing with an old, rusty faucet handle nut.
Here’s how to remove a faucet handle without screws on an older model faucet:
- Apply liquid wrench oil around the back of the faucet handle
- Wait for a while for the oil to penetrate (according to the manufacturers’ instructions)
- Use electrical tape to tape the jaws of two wrenches. This will prevent the tool from ruining the faucet’s fine finish
- Hold the back handle with one wrench. Hold the nut with the second wrench and turn it clockwise
- Once the nut loosens, use the screwdriver to completely unscrew and remove the nut and the faucet handle
- If your older faucet model comes with a bell-shaped housing, known as an escutcheon, locate the tiny screw underneath it. Unscrew it, and the escutcheon will slide right off
Consider calling a professional if you find it difficult to remove this type of old model faucet handle.
Conclusion
Removing faucet handles without screws is a fairly straightforward procedure that can be done without prior experience, provided you have a few simple tools. Plus, it doesn’t take too much time to have it over and done with. Now that you know how to remove a faucet handle without screws, it’s time to do it yourself!
Frequently Asked Questions
How do you remove a Moen faucet handle without screws?
You can remove a Moen faucet handle without screws like you would remove any other faucet handle. Turn off the water, twist the handle’s base, pull out the faucet cartridge, remove the cap, and pull off the faucet handle.
How do you clean a bathroom faucet or kitchen faucet when the handle is removed?
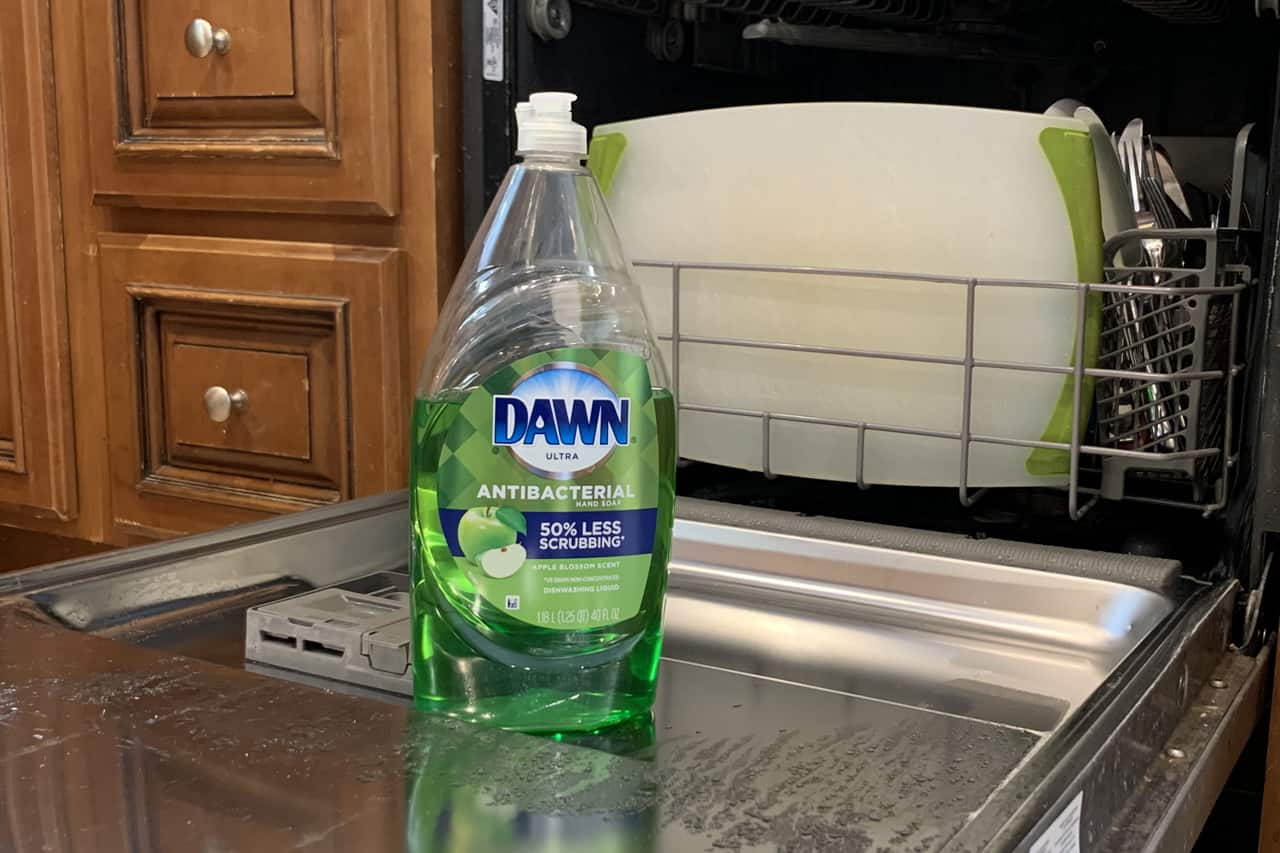
Once you remove the handle from your bathroom or kitchen faucet, you can drop the cover and the handle into hot water. If the sink faucet handle has a brushed nickel, chrome, brass, or copper finish, you can use dish soap. White vinegar can be used with warm water as well and will not damage the faucet.
Related Posts