How To Install Continuous Soffit Vents
homedude is reader-supported. When you buy through links on our site, We may earn an affiliate commission. Learn more
There’s no denying that roofing companies and homeowners understand the importance of a great roof. After all, it protects you against the elements by keeping you warm and dry. Nonetheless, the question isn’t what your roof can do for you but rather what you can do for your roof.
That’s right! It’s time to revamp your roof to ensure it continues serving you well. Here’s where soffit vents come into play. In this guide, you’ll learn how to install continuous soffit vents.
When it comes down to installing continuous soffit vents to increase the ventilation in your home, you need to start out by marking the vents, cutting the appropriate holes, and then adding the vents.
Read on below for more detailed step-by-step instructions on how to install continuous soffit vents for improved circulation.
Step 1: Mark the Vents
- Measure the continuous soffit vent to determine the distance you need to fit into your eaves because precision is crucial
- With these measurements, you can now measure your soffit joist to confirm that it’s a snug fit for the vent
- Place the continuous soffit vent adjacently to the joist.
- Use chalk to define the perimeter of the vent, then put it away in a safe place
Step 2: Cut the Hole
- Use a power tool such as a hacksaw to cut out the soffit. If you use a circular saw, for instance, you’ll achieve superior strength and speed. However, a hacksaw will deliver the precision you need, which means few errors
- Remember to cut a slightly smaller area compared to a continuous soffit
- Use a knife to remove the rest of the area and trim it accordingly when it’s time to fit the vent
Step 3: Add the Vent
- Ensure the outside edge of the roof vent is firmly in place
- Drill screws along the vent, spacing them out about a foot apart
- Remove the insulation that surrounds the new vent hole in your attic
- To prevent the insulation from coming into contact with the vent, position one or two pieces of lumber between the rafters
- Clear the path for excellent air circulation between the rafters
- If you require making another hole for a different vent, ensure it’s as close to the soffit vent as possible
Step 4: Finish the Vent
- In the attic, add the interior of the vent to the soffit such that it’s positioned around the rafters to hold it in place
- If there are nearby studs, screw the soffit vent right next to them for added security
- Go around the edge of the vent, ensuring it’s well-caulked
- For the outer edges, you have free rein to add roof tar or use waterproof caulking. Doing so will ensure your continuous soffit vent is watertight and secure, allowing you to draw in plenty of air without leaving moisture on the attic floor
Do You Need Better Attic Ventilation?
When summer rolls around, you can’t deny that excellent attic ventilation diminishes heat buildup. In addition to prolonging shingle life, it also cuts cooling costs. During winter, moist, warm air seeps into the attic from the living space underneath.
Great ventilation facilitates this moisture and heat escape, keeping your attic dry and reducing ice dams. With that being said, here are 4 tell-tale signs of an insufficiently ventilated or unventilated attic.
- Examine your roof and eaves. If you don’t notice any attic vents, that’s a sign you require some. Keep in mind that roof vents vary in appearance. For example, your roof might have a ridge vent that is low-profile, continuous, and runs along the peak of the roof. Alternatively, it may have a gable vent that refers to the louvered opening found at the top of the gables.
- Feel the ceiling on a warm, sunny day. If it’s hot, that means your attic is like a solar oven that cooks the shingles while increasing your electric bills.
- The thick ridges of ice on your eaves during winter are a marker of poor attic ventilation. The warm air that escapes from the rooms underneath gets trapped in the attic. As a result, snow melts, and the water re-freezes on the cold eaves to form an ice dam.
- While you may not realize it, warm air in your home carries moisture that later condenses on the roof sheathing or rafters. During the winter, grab a flashlight and examine your attic, keeping your eyes peeled for frost or any sign of dampness. That’s a sign that you require soffit vents and better roof ventilation.
For a favorable outcome, ensure the roof ventilation is next to the soffit vents in the eaves and the roof’s peak. That’s because air flows out through the roof vents and gets in through the soffit vents. Although these vents come in different sizes, you should opt for rectangular or hooded as they are a breeze to install.
Materials Required
Aside from vents, you’ll require:
- Roofing nails of 1 to 1¼-inch
- ½-inch galvanized sheet metal screws for the soffit vents
- A tube of roofing cement for every three vents.
- A dust mask
The entire project should take a day or two, depending on your skill level. When in doubt, you can always rope in a professional roofer. We recommend installing the vents on a cool day rather than a warm one when attics become sweltering hot. Furthermore, heat makes the shingles susceptible to damage.
How Many Vents Do You Require?
Start by determining the size of your attic by multiplying the width by the length. For instance, an attic measuring 30ft. by 30ft. has an area of 1,200 sq. ft. Therefore, you should aim for 144 sq. inches (1 sq. ft.) of vent opening for every 150 sq. ft. of attic space. While the building code allows you to lower that by half in some conditions, increased ventilation is always better.
The open area of a vent is at times marked on the vent as the Net free Vent Area (NFVA); otherwise, we recommend measuring the size. Roof vents comprise half soffit vents and half the vent area.
Exercise Caution
Now that you know how to install continuous soffit vents, it’s important to do so without throwing caution to the wind. Therefore:
- Buy roof jackets that typically cost below $10. These metal brackets support a plank that prevents you and your tools from sliding down the roof
- Although it’s not easy to come by, rent a personal fall arrest system (PFAS) from one of your local rental centers
- For unmatched traction, wear soft-soled shoes
- Clean up debris and sawdust as frequently as you can to prevent slipping and falling
- It’s worth noting that wet shingles are slippery. Steer clear of them until they are completely dry
What Type Of Soffit Vents Should You Have?

There’s no shortage of options when it comes to taking your pick from the various types of soffit vents. Before you dive into the installation process, it wouldn’t hurt to have a professional roofer assess and help you decide the best option for your home.
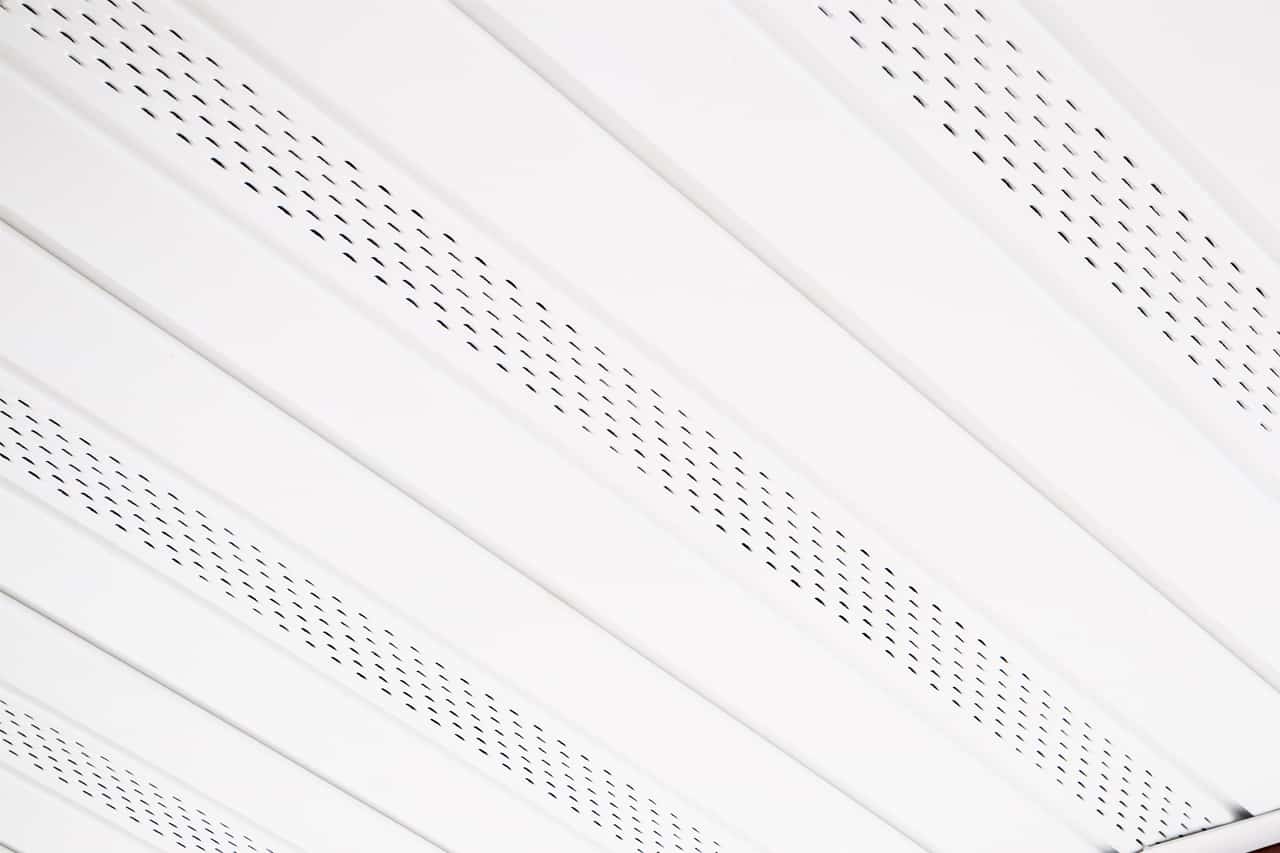
For instance, you can opt for perforated vents that are designed for vinyl siding, circular soffit vents, or continuous soffit vents that run the entire length, just as the name suggests.
Conclusion
Installing continuous soffit vents is a foolproof way of proper ventilation for your attic to keep it sufficiently cool. With these steps and the required materials, you can get the ball rolling.
Related Posts


